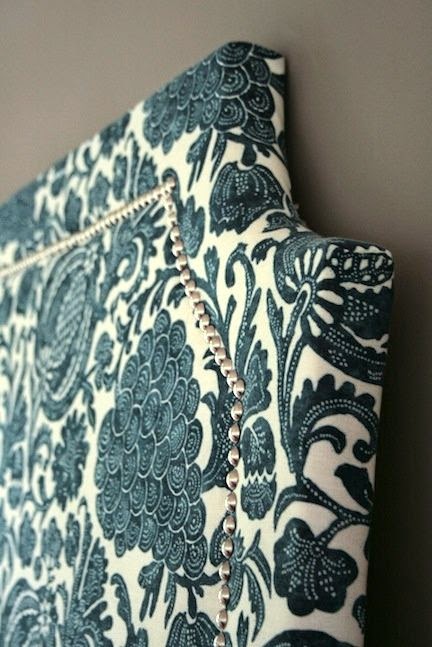
Now that you've seen the inspiration, let's get started with the tutorial:
What You'll Need:
Headboard base
Batting (from the fabric store)
Fabric
Upholstery Tacks
Hammer
Staple Gun (from local hardware store)
Staples
Scissors
Directions:
1. Measure your headboard. I measured mine at two yards for width.
2. Go to the fabric store and pick out your fabric. Get batting and upholstery tacks. The best kind of tacks are the ones that are in a strip (more on that later).
3. Lay out your batting on the floor and lay your headboard on top:
4. Fold the batting over the headboard and start stapling. In some areas, you may have to cut the batting to help it fold over correctly depending upon the shape of your headboard.
5. Once you're done stapling all of the batting and cutting off excess, stand the headboard up again. Lay out your fabric as straight as possible on the floor (you may have to iron it before to get out all of the wrinkles). Lightly lay the headboard onto the fabric, making sure the fabric stays straight.
6. Start stapling the fabric to the batting and headboard. You might have to cut the fabric, like you did the batting.
7. Once you are done stapling the fabric, stand it up and flip it over. Get ready to put in the upholstery tacks!
It is also really important to have a super cute helper :)
8. Get out your strip of upholstery tack fronts and your package of upholstery tacks. It is easiest to get this strip that is fake tack heads with a spot to hammer in a real upholstery tack about every fifth one. They usually come with upholstery tacks to hammer in as well! Put in one upholstery tack to start the strip.
9. Keep nailing in the upholstery tacks until you get to the where you want to stop and cut it. Then, go down the headboard with the strip of tacks.
10. Attach the headboard to the bedframe and enjoy! Here are my after pictures:


.JPG)
.JPG)
.JPG)
.JPG)
.JPG)
.JPG)
.JPG)
.JPG)
.JPG)
.JPG)
.JPG)


I think I want to do something like this to our bed. partly because our footboard has chew marks.
ReplyDelete